
Network Access to Storage Account
What is a private endpoint in Azure?
- A private endpoint is a special network interface for an Azure Service in your Virtual Network.
- When you create a private endpoint for your storage account, it provides secure connectivity between clients on your VNet and your storage.

Pre-requisite: Must Have created Virtual Network
Step1: Sign in to Azure Portal
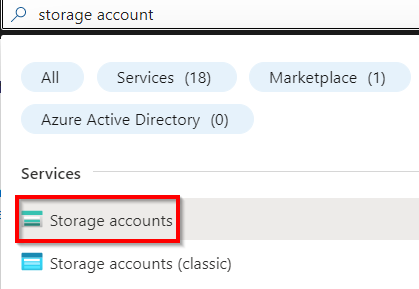
Go to the Azure portal using the URL https://portal.azure.com
Task 2: Create a Storage Account with a Private Endpoint
Select Create and enter the following values in the Basics tab.
Resource group: Select rg_westeurope
Instance details :
Storage Account Name: Enter a unique name
Region: Select West Europe
Performance: Select Standard
Redundancy: Leave the default of GRS
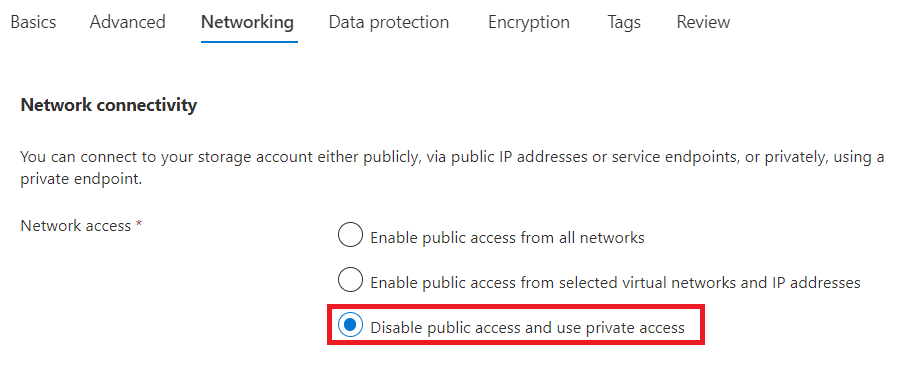
3. Click on Next: Advanced, leave everything default now click on the Networking tab and do the mentioned:
Network connectivity:
Network access: Select Disable public access and use private access
4. Click on + Add private endpoint, enter or select the following information and click on OK.
Resource group: Select rg_westeurope
Location: Select West Europe
Name: Enter privateEndpoint
Storage sub-resource: Select blob
Networking:
Virtual Network: Select yourVnet
Subnet: Select SubnetA
Click on OK
5. Leave rest values as default and click on the Review button and click on Create. After a few minutes, your storage account will be created.
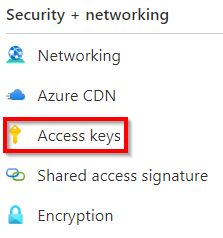
6. Click on the Go to resource button and from the left menu, select Access keys.
7. Click on the Show button near to the connection string option and copy the connection string for Key 1 (paste it in some text editor for later use)
Task 3: Access storage account from the virtual machine
In the search box at the top of Azure Portal, search for Virtual Machines and select your VM.
To connect to the virtual machine, select Connect and then select RDP from the dropdown. Select Download RDP File to download the remote desktop file.
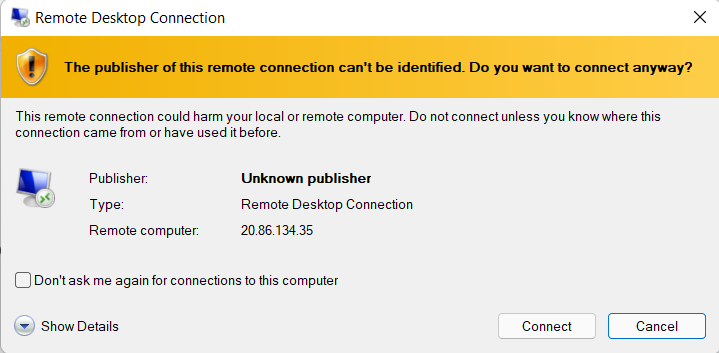
Open the download RDP file and select Connect on the displayed prompt.
On the Windows Security prompt, click on more choices.
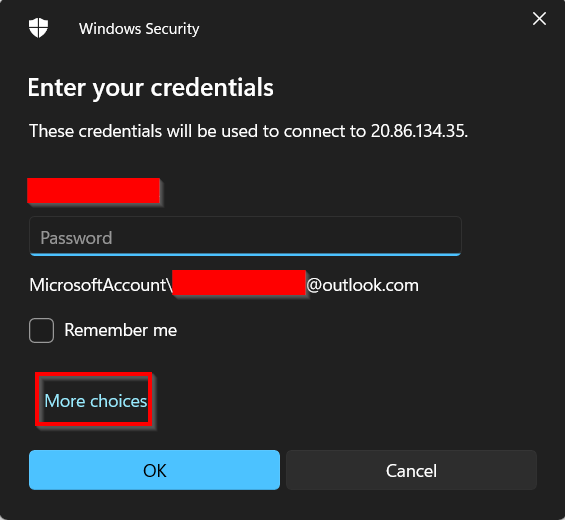
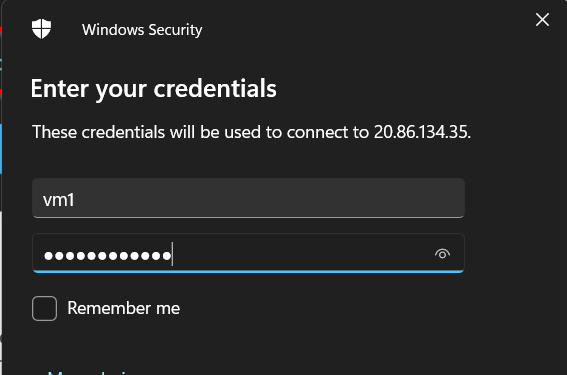
Click on Use a different account and enter the username and password you specified while creating the Virtual Machine and select OK.
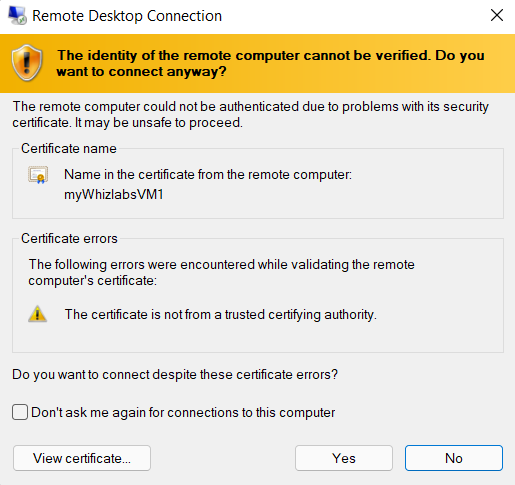
You may receive a certificate warning during the sign-in process. Select Yes to continue.
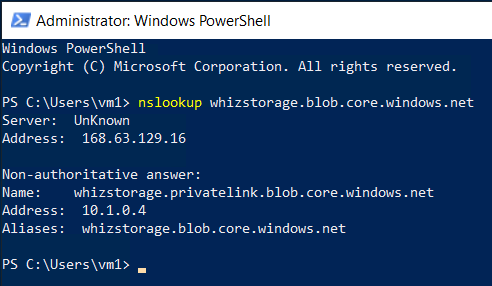
Open Windows PowerShell after you get connected and run the following command:
nslookup <your storage account name>.blob.core.windows.net
- NOTE: Replace <your storage account name> with the name of your storage account in the above command.
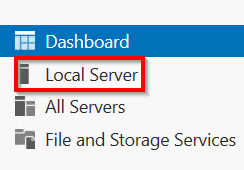
In the virtual machine, search for local manager from the windows search bar and then click on Local Server from the left menu of the Server Manager dashboard.
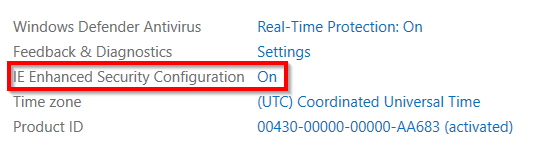
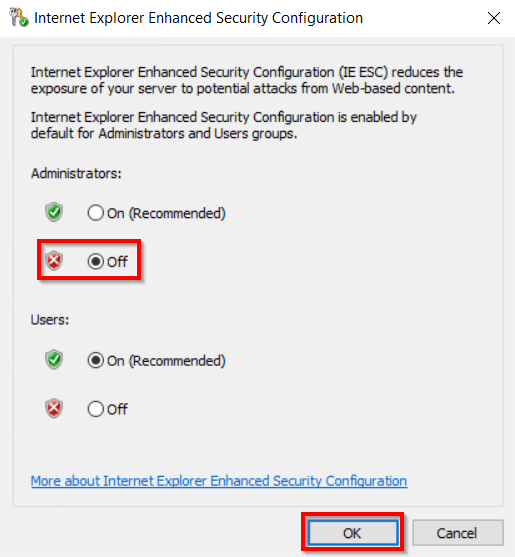
Turn off the IE Enhanced Security Configuration.
Click on Ok.
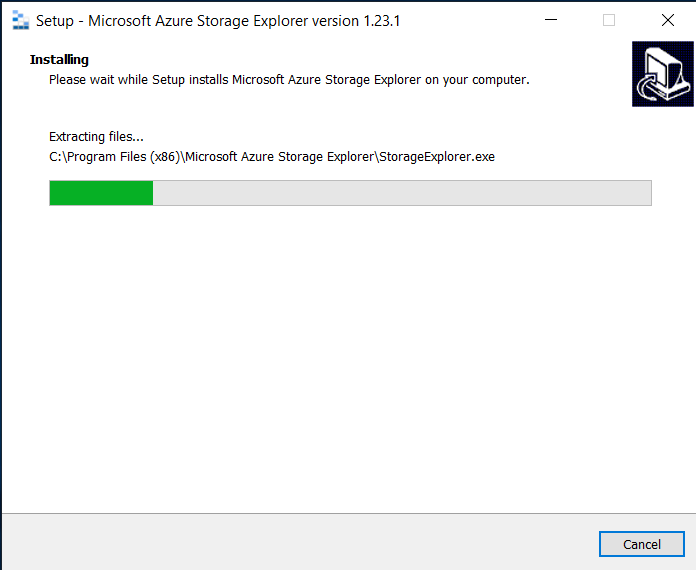
Download Microsoft Azure Storage Explorer from the link and install on the VM. Download Link- https://azure.microsoft.com/en-us/features/storage-explorer/
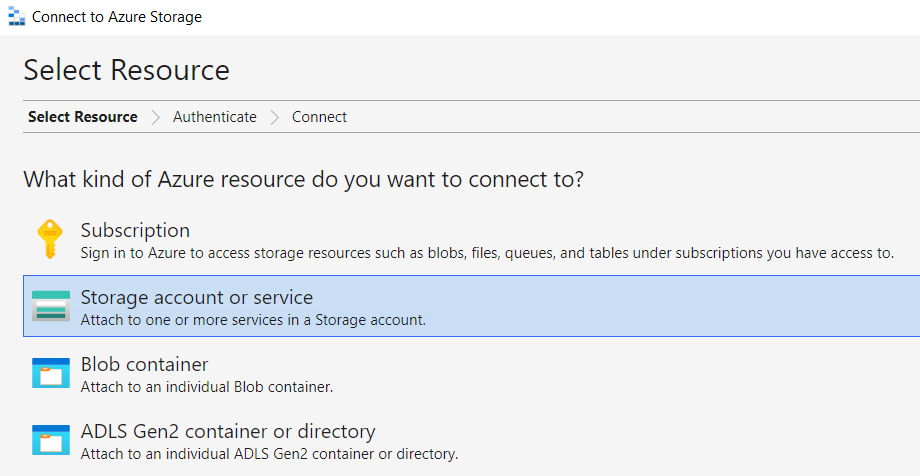
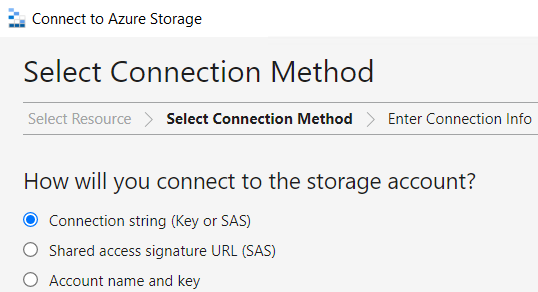
On the Get started page, select Connect to Azure resources, and in the next page that opens up, select Storage account or service, Connection string.
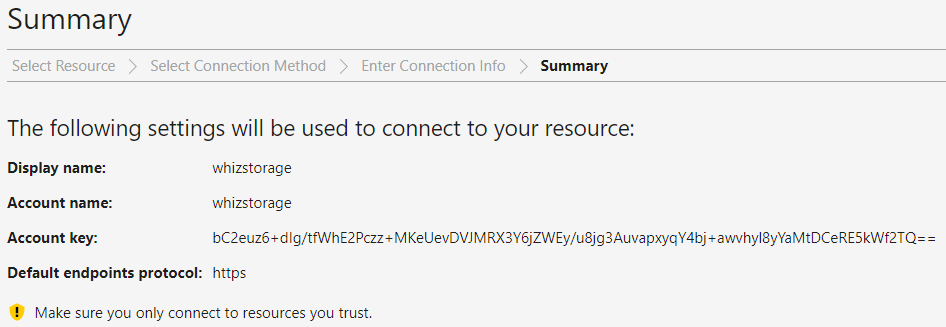
Paste the connection string that you copied in the previous steps.

Click on Next and verify the settings in the Connection Summary.
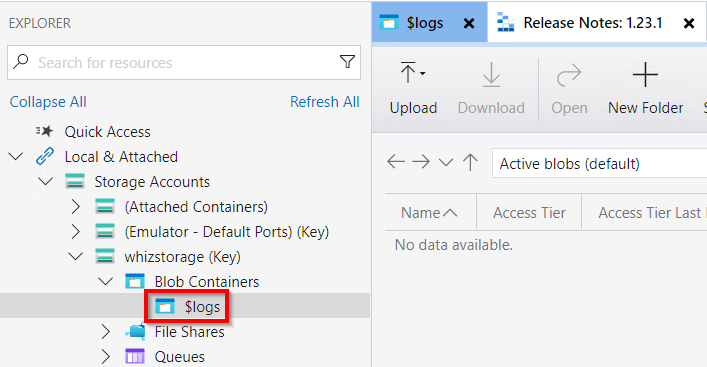
Click on Connect and select storageac > Blob Containers and you will be able to access the default $logs container.
Thank you this hands-on lab is completed successfully...
